How to Use the Facebook Debugger Tool for Shared Posts
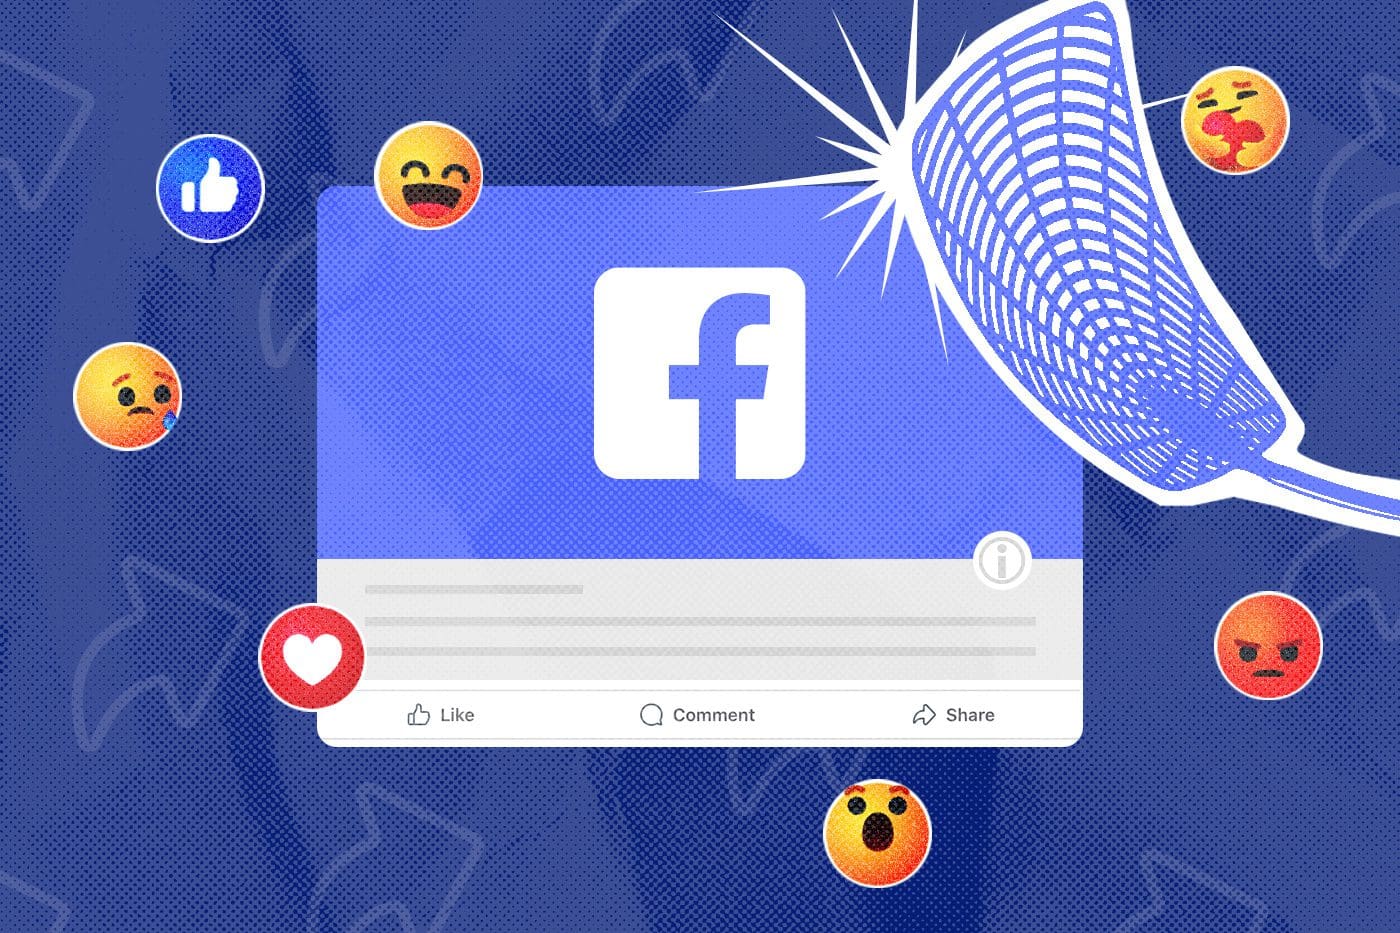
Social media platforms like Facebook serve as invaluable tools for businesses and individuals to connect, share, and engage with and grow their audience. However, when it comes to sharing content on Facebook, issues like incorrect preview images, outdated metadata, or broken links can hinder the effectiveness of your posts. This is where the Facebook Debugger Tool comes to the rescue.
If you’re aiming to optimize your website’s content for social sharing or merely troubleshooting issues with existing posts, understanding the Facebook Debugger Tool is an essential skill for maximizing your reach and engagement. In this guide, we’ll delve into the intricacies of the tool, exploring how it works and providing step-by-step guidance on its features to ensure your shared posts look their best.
What is the Facebook Debugger tool?
The Facebook Debugger Tool is a free tool provided by Facebook to help users troubleshoot and optimize shared content on the platform. The tool analyzes the URLs you plan to share and provides real-time previews of how the links will appear. You’ll be able to see and then fix issues like incorrect metadata, broken links, or missing images. By utilizing the Facebook Debugger tool and addressing issues promptly, you’ll be able to safeguard your brand’s reputation, optimize engagement, and enhance the overall effectiveness of your Facebook marketing strategy.

How to use Facebook’s Debugger Tool
Using the Facebook Debugger tool involves a series of simple steps. Upon accessing the tool’s webpage, users input the URL of the content they wish to debug and click “Debug.” In the following breakdown, we’ll guide you through each step, offering insights into effectively resolving any issues impacting your content’s appearance on Facebook.
1. Grab the URL that’s not working
Before diving into the debugging process, you’ll need to obtain the URL of the content you are trying (unsuccessfully) to post on Facebook. You don’t need the link to any broken posts, though, but just the link to the page you are trying to share. For instance, a blog on your website or a video.
2. Access the debugger tool and log in
Open a web browser and go to the Facebook Debugger Tool page. If you’re not already logged into your Facebook account, you’ll be prompted to do so. Logging in gives you access to all the features of the debugger tool so you can effectively debug the URL you’ve copied. To log in to Facebook, enter your username and password and click “log in.”
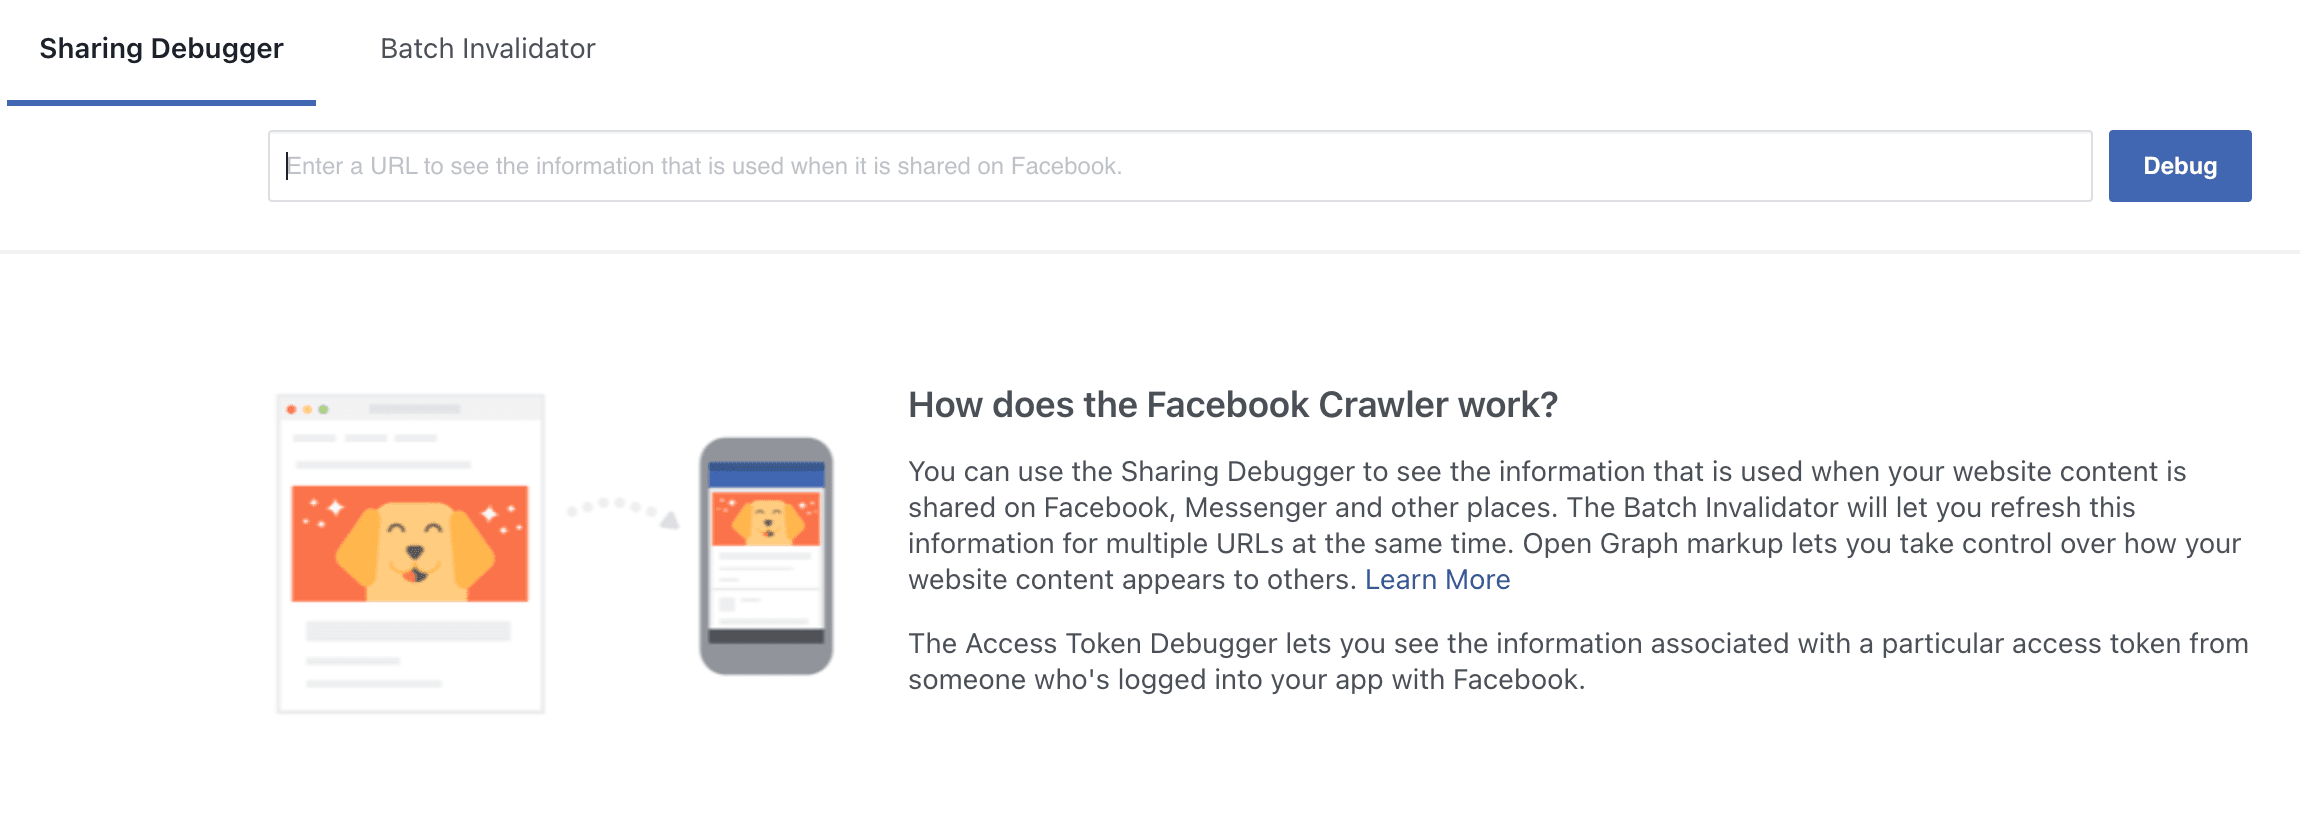
3. Paste in your post’s URL
Once logged in to Facebook, locate the text field labeled “Enter a URL” on the Facebook Debugger Tool page. Paste the URL of the content you want to debug into this text box. Ensure the URL is accurately copied to facilitate the tool’s analysis of the post’s metadata and content.
4. Click “Scrape Again”
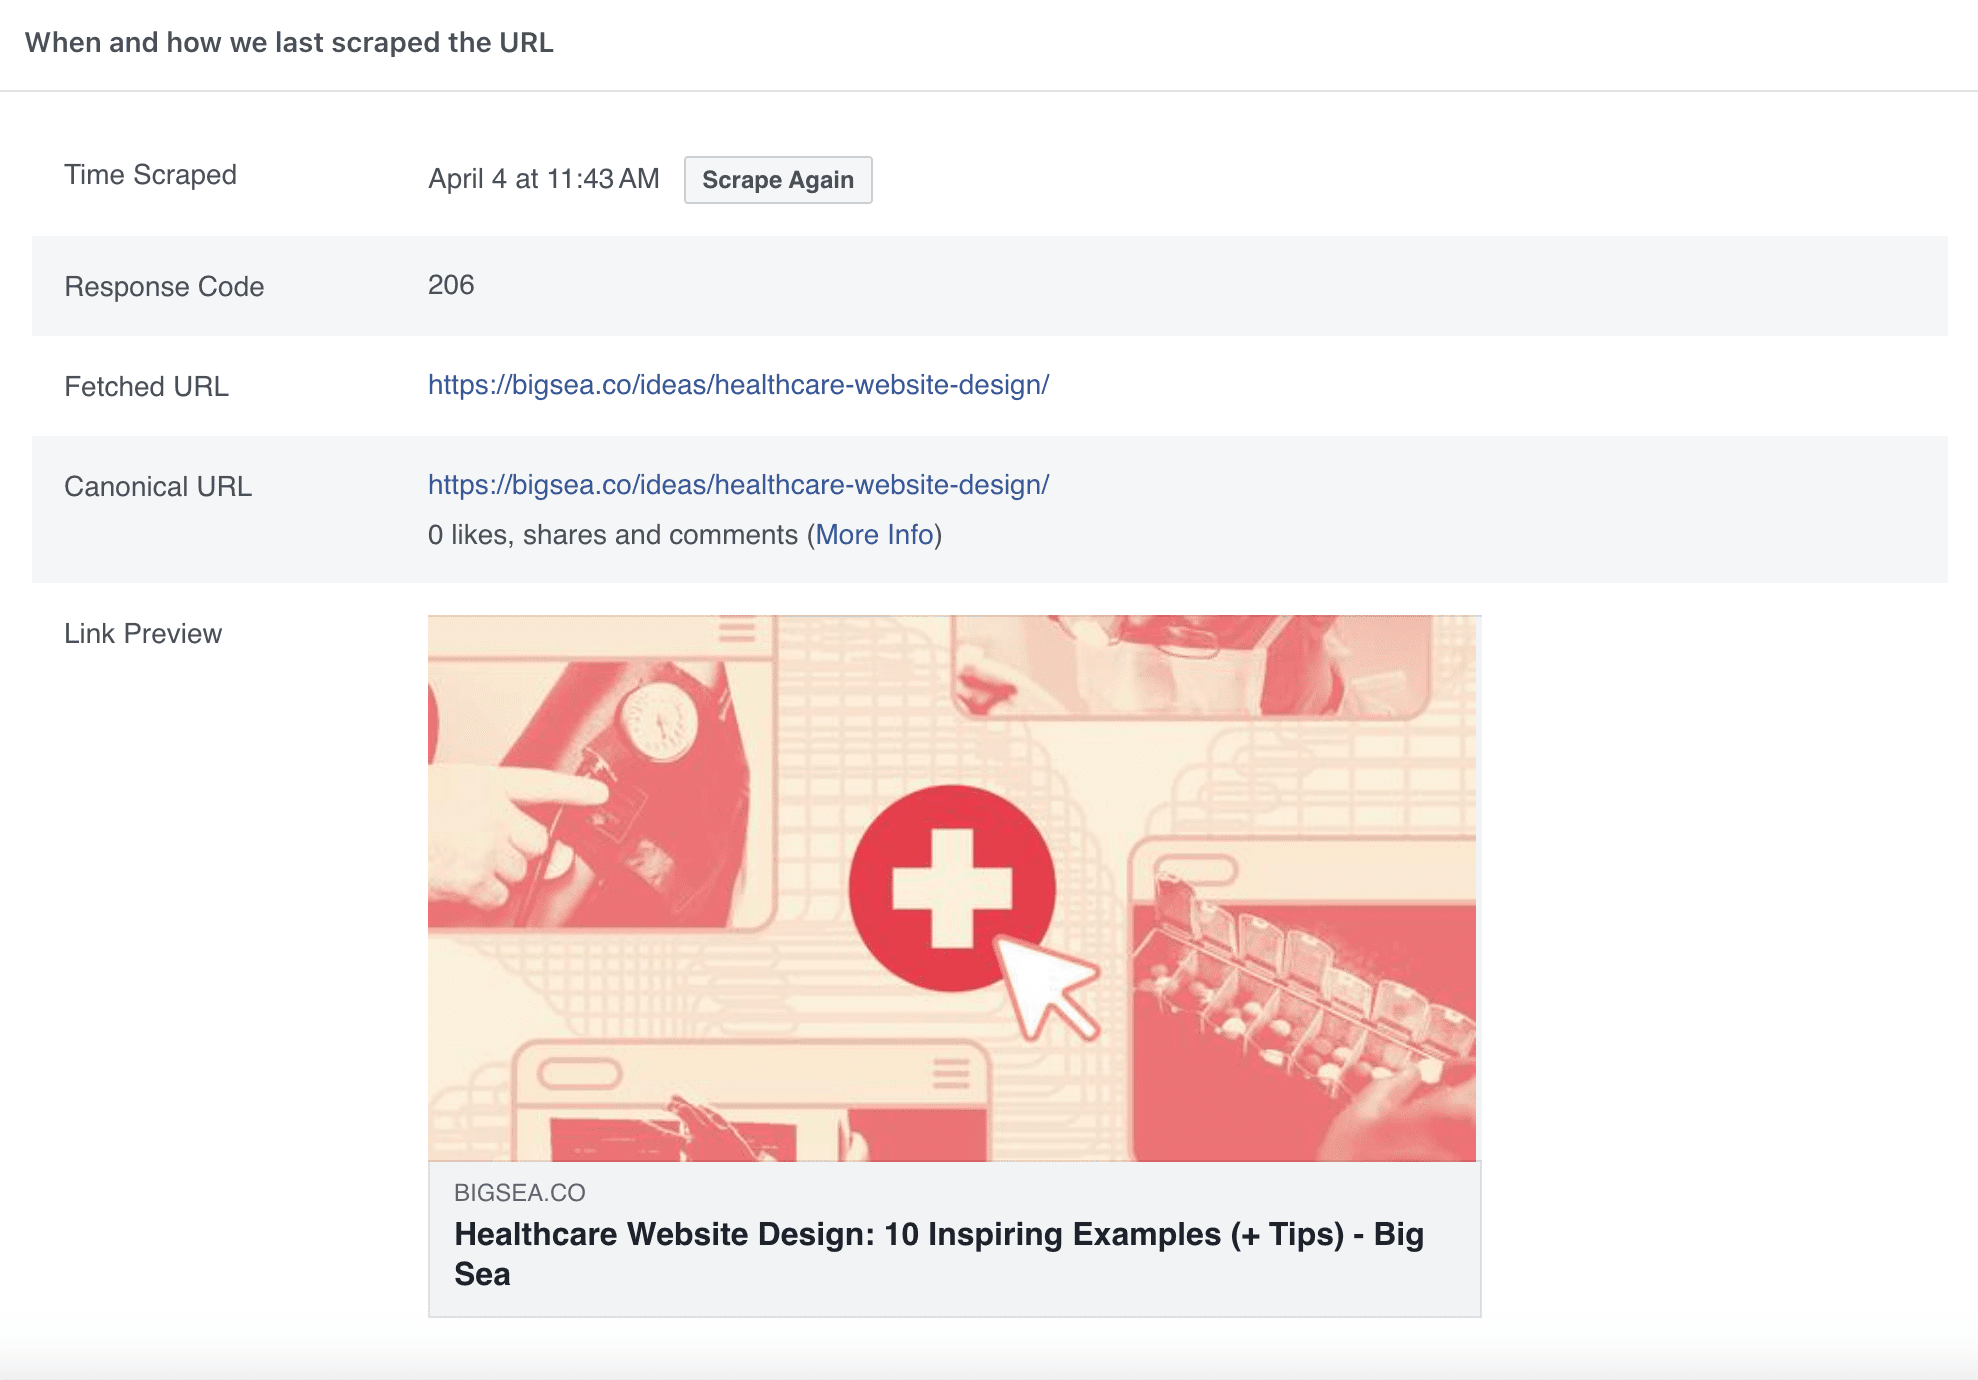
After pasting the post’s URL, click the “Debug” button. Once the analysis is complete, you’ll be able to review the provided information, including any errors or warnings related to the post’s metadata, images, or other elements.
Additionally, you’ll have access to information about the last time the page was “scraped,” the canonical data, and information about what Facebook sees when it “scrapes” your URL.
To refresh the analysis with any recent changes, click “Scrape Again” for updated results.
5. Check the preview
After you click “scrape again,” the preview should pull the new image or meta data. Examine the preview section below the debugger tool to see Facebook’s updates. The preview displays how the post will appear when shared on Facebook, including the title, description, and thumbnail image.
Ensure that the preview accurately reflects the intended presentation of your post. If it doesn’t, and you just recently updated your page or video, then click “scrape again” a few more times. If it still doesn’t work after a few minutes (and a few clicks), go to the next step.
6. If the preview isn’t right, return to your website
Should the preview not match your expectations, return to your website and make sure that the update was finalized. We also recommend refreshing your cache if you haven’t and checking the code on the published page to make sure the image or data is appearing correctly. Once updated, repeat the process by re-entering the post’s URL into the Facebook Debugger Tool for re-scraping.
How do I check image size in the Facebook Debugger Tool?
To check the image size, inspect the “og:image” tag in the debugger tool’s results. Facebook recommends 1200 pixels x 630 pixels as the optimal size for images, with a minimum of 200 x 200 pixels. Ensure that your image meets these requirements to avoid issues with image display and sharing on Facebook.
Let us help you amplify your message through Facebook
At Big Sea, we specialize in leveraging Facebook and other social media platforms to amplify your message and reach your target audience. From crafting engaging content to optimizing post sharing using tools like the Facebook Debugger, our team is dedicated to maximizing your online presence and driving meaningful engagement. Contact us to unlock the full potential of Facebook marketing for your business.